Cooking Adventure number #8 – Extravagant Goat’s Cheese Tortellini with Roasted Beetroot, Beetroot Purée, Beetroot Broth and Candied Walnuts
For my eighth main ingredient, my friend selected ‘beetroot’. I researched and selected three recipes including beetroot and thyme muffins, beetroot and carrot soup and goat’s cheese tortellini with roasted beetroot, etc. All recipes look delightfully tasty however, I chose Goat’s Cheese Tortellini because when I first saw this recipe on Masterchef, I was really interested about how all the components on the dish worked together to taste excellent. I also love beetroot and goat’s cheese so maybe the combination of beetroot and goat’s cheese would be brilliant. Also, this recipe is one of the best and signature dishes of Masterchef 2011. The ingredients to ‘Goat’s Cheese Tortellini with Roasted Beetroot, Beetroot Purée, Beetroot Broth and Candied Walnuts’ are:
Goat’s Cheese
Chives
Lemon Zest
Thickened Cream
Flour
Egg Yolks
Whole Egg
Pure Olive Oil (used Extra Virgin)
Milk (used Full Cream)
Sea Salt (used Table Salt)
Carrots
Celery
Onions
Garlic Cloves
Water (not shown)
Parsley
Bay Leaves
Peppercorn
Beetroot
Fennel Seeds
Horseradish
Walnuts
Sugar
It took me one hour and thirty minutes in total to prepare all the ingredients. This included zesting, peeling, chopping, measuring, etc. with lots of ingredients for this recipe, I knew that preparation was going to take a long time.
Goat’s Cheese Filling
This is me putting the lemon zest, chives and thickened cream onto the goat’s cheese. When I tasted the goat’s cheese on its own, it was extremely salty so I believed that when everything was finished and ready to taste, the beetroot will balance the flavours out since beetroot is very sweet. The chives had a very unpleasant scent which put me off the filling for a little bit but the lemon zest smelt nice.
This is the goat’s cheese filling being mixed well. I could barely smell the chives’ unlikable scent which was great. I tasted some filling and it was still salty with extra lemon and chive flavour.
Tortellini dough
This is me pouring in the egg yolks, olive oil and milk into the flour which has been shaped into a well.
Once I finished pouring the ingredients in, I mixed the mixture with a fork until the mixture came together.
This is me mixing the mixture with a fork. It doesn’t look like it’s together but my mother said it looked fine enough. I usually follow some of my mother’s instructions because she’s cooked more recipe than I have and she knows if that’s ready or not ready.
After mixing the mixture with a fork, I sprinkled some flour in the almost finished dough and started kneading it until the surface of the dough was smooth and elastic. It took a lot of effort to knead for seven minutes but it was worth my energy.
Once the surface was smooth and was elastic, I rolled it into a log-like shape and placed cling wrap around it and placed in the fridge for the dough to rest for half an hour. This dough was a time-consuming as the pizza dough which had to rest in total for two hours at the heater.
Vegetable Stock
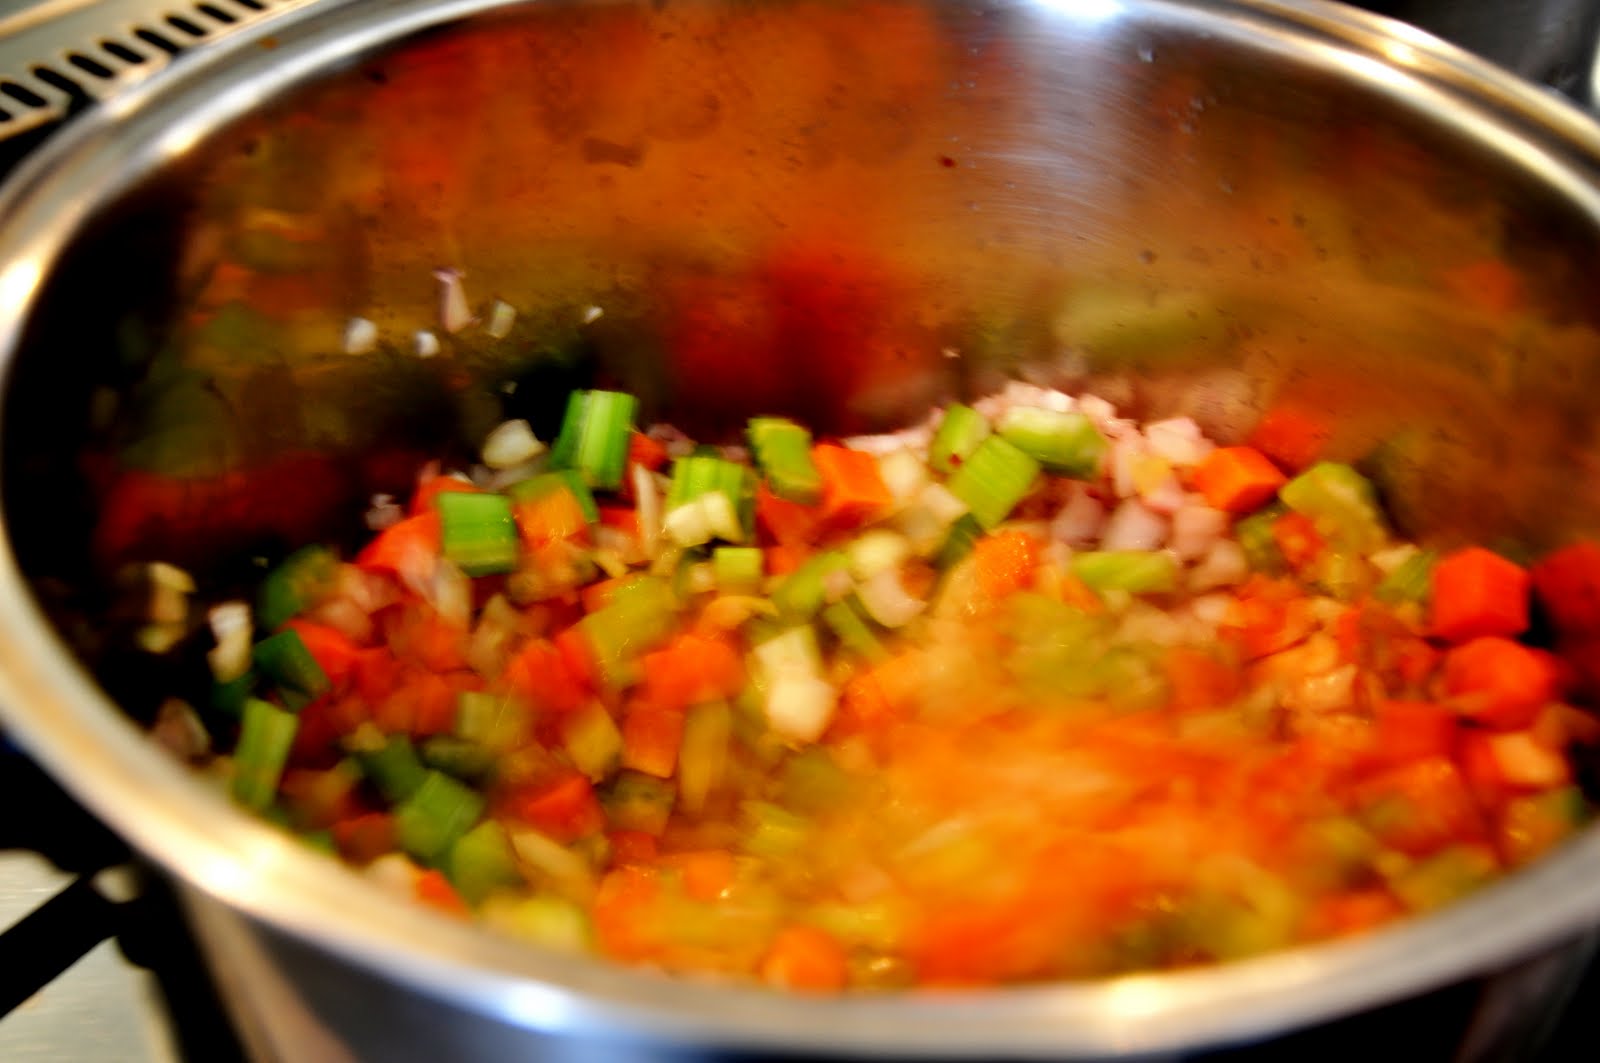
This is me mixing the chopped vegetables into an oiled saucepan until the vegetables start to caramelise. The smell of the vegetables was plain and I hoped something could make it smell nice.
Once the vegetables began to caramelise, I had to add the garlic then leave the vegetables to cook for two minutes without stirring. The smell of garlic made the other vegetables smell delicious. Thank heavens for the garlic!
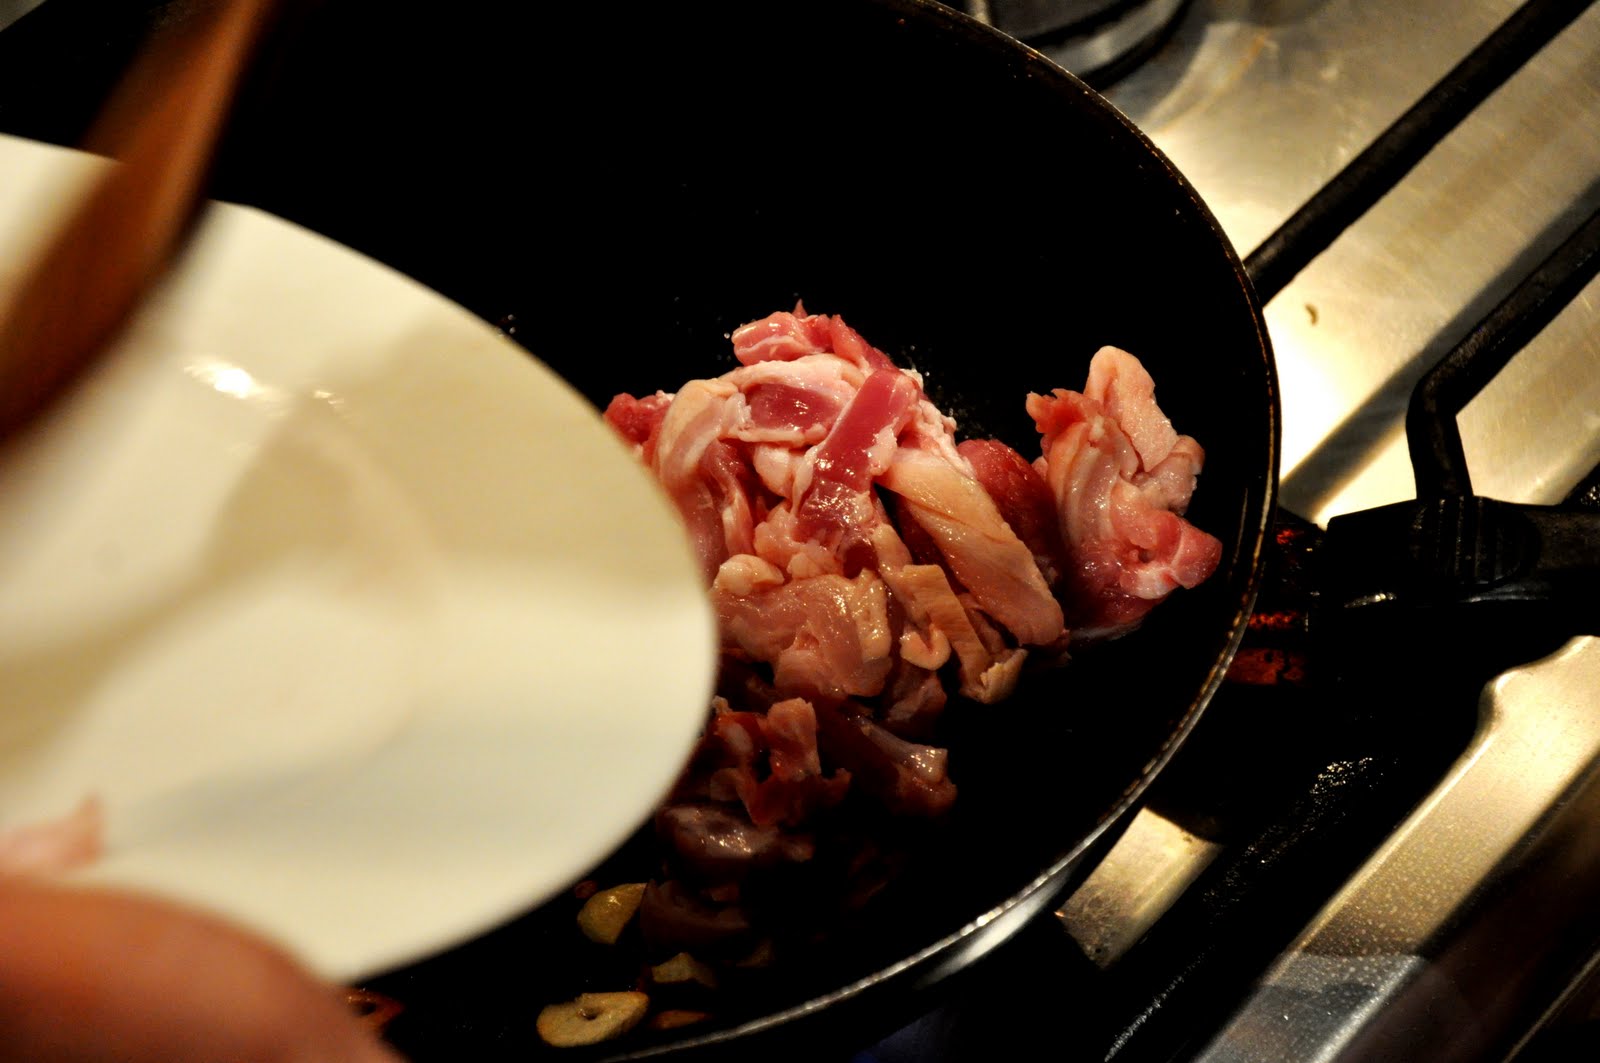
Once the vegetables had been cooked for two minutes, I poured the water into the vegetable saucepan and waited until the water began to boil while stirring and adding the bay leaves and peppercorn. Once I added the last ingredient, I turned the heat from high to low and let the stock simmer for the next hour. I occasionally tasted it and it was a bit plain but the smell was amazing.
Beetroot Broth
Next step was the beetroot broth. First, I had to roast the beetroot which had been drizzled with olive oil in the oven for thirty to thirty five minutes. It took almost an hour for them to become soft which was caused me to become curious about why this had happened.
After one hour, this is what the roasted beetroot for the broth looked like, although it looks burnt, it is actually soft, sweet and you couldn’t taste that burnt flavour.
After the beetroot had cooled down, I placed them into a saucepan and poured some of the vegetable stock into the saucepan so it covered all the roasted beetroot. It smelt flavoursome in the kitchen when I poured the stock into the saucepan. I couldn’t wait for the dish to be finished.
After putting the stock in, I had to wait for it to boil and when it started boiling, I put in some fennel seeds as it says in the recipe. After putting in fennel seeds, I put the heat down to low and it simmer for half an hour. The smell was extravagant.
After thirty minutes, I put the beetroot/stock into a blender so it combined into a puree and sifted it to remove the remaining fennel seeds and beetroot that did it get blended. I poured it back in the saucepan and added horseradish, salt and pepper for extra taste. This is the photo of the beetroot broth. I did a taste test and it tasted so marvellous, I couldn’t wait to try it with the other components of this recipe.
Beetroot Purée
To make the puree, I had to put beetroot into a saucepan of boiling water and leave it to boil for twenty-five minutes or until soft. Similar to roasting the beetroot, it took longer to soften the beetroot for some reason. It took almost one hour to become soft.
Once the beetroot had softened, I had to leave them out so they could cool down. When I tried one beetroot, it was so soft and sweet that it was like the flavour was dancing on my tongue.
After they cooled down, I placed them into a saucepan and added thickened cream. After adding cream, I had to turn on the heat to medium and let the beetroot cook with the cream for five to ten minutes.
After ten minutes, the beetroot had gone very soft to falling apart soft and the cream had turned from white to warm red. In just ten minutes, they changed dramatically.
This is the blender filled with the ‘falling apart’ beetroot and red cream which is about to be pureed. Before I poured everything into the blender, I tasted the beetroot and cream and it had a lovely sweet taste so I was impressed with progress so far.
After the beetroot and cream had been blended into a smooth puree, it looked really good and it tasted absolutely divine!!! I couldn’t wait for the other components to be ready.
Roasted Beetroot
This is one of the baby beetroot with olive oil on it. When I was buying the beetroot for each component, I had a problem in finding fresh small beetroots at the supermarket or grocery. When I finally realised that I couldn’t find any, I decided to buy the canned baby beetroots. I wish they were fresh ones because I usually buy fresh produce. I baked the baby beetroots for twenty minutes.
Before I put the beetroots in, the recipe that I was following came too close to the fire on the stove and burned one sector of the sheet. The sheet now looks interesting to look at but some of the instructions were missing so we had estimate what we had to put in, how long it would take and what the temperature was.
This time, the baby beetroots actually were soft after the twenty minutes were finished. They smelt so heavenly but since they were HOT, I didn’t want to try them yet.
Tortellini
This is me and my cousin rolling out the pasta dough through a pasta machine. To get the consistency of thin and smooth pasta, I had to put the dough in number 6 once and number 2 twice. Sometimes, the pasta didn’t get to the consistency so I did number 6 twice.
This is the pasta dough being rolled out at a fine consistency. Sometimes, the pasta dough got stuck in the machine because there wasn’t enough flour in the roller or the dough was too dry, but usually , there isn’t enough flour.
After rolling out the dough, we had to cut 10cm circles for the tortellini. Since I didn’t have a cookie cutter, I used the pastry cutter used in my corn entrée pastries recipe instead. I had lots of dough leftover so I put the leftover dough together and rolled it out to a fine consistency and cut circles of them again. If there was more, I repeated the same step.
Making the tortellini
In the past, I’ve always thought making tortellini by hand was very tricky and would usually buy the pre-made ones. For this recipe, I looked on the internet to see how to make tortellini by hand and it was extremely easy. Here’s Step 1:
Use one circle to make one tortellini.
Step 2: Put a small (very small) amount of the goat’s cheese filling in the middle of the circle. Some of my tortellini had too much filling which exploded when I tried folding it into halves.
Step 3: Apply water or egg whites to the half of the circle and hold in half. Press the sides down to make sure the sides are secure. If they are not, when cooking them; the filling will fall out and all you have is dough.
Step 4: Pull the sides together and you’ll form the tortellini! Now I know that it isn’t hard after all.
Step 5: Once finished a tortellini, keep repeating till there is no filling or dough left.
My collection of hand-made tortellini. At one point, I had no pasta dough left but had lots of filling so I used my mother’s wonton sheets and as a replacement. It looked as good as the ‘real’ tortellini but it wasn’t a good idea. You’ll find out why it wasn’t a good idea.
To cook the tortellini, I had to put salted water in a saucepan to boil and once it was boiled, I plopped each tortellini. To see whether a tortellini has cooked, they have to float to the top then wait for an extra minute for the pastry to cook. The ‘pasta dough’ tortellinis were fine but once I put the ‘wonton’ tortellini, the filling just blended in with the water and all I had was a cooked wonton sheet. That’s why I will never use wonton sheets for tortellini.
Candied Walnuts
This is me mixing the sugar and water in a saucepan at a medium heat. This was actually my second attempt at caramelising because my first attempt, I accidentally used salt instead. I didn’t realise until I noticed it was browning. It was a funny moment for me.
After waiting for fifteen minutes or so, the sugar started browning but it browned so quickly that it looked like the sugar was burning. That wasn’t too good!
Once I saw it was burning, I threw the walnuts in and they added a lovely and nutty smell into the burnt sugar which made it more appetizing to eat.
Once the walnuts had an even coating, I poured the walnuts onto a baking tray to rest. Although it smelled burnt, I loved the colour of the caramel which made me want to eat the walnuts. I tried one and it just had a little burnt flavour to it but it was delicious to eat.

After three and a half hours of cooking this recipe, I was exceptionally pleased about my final product. The presentation of all the components looked stunning and the green towel makes the plate look spectacular. I was the first person to try the recipe. The beetroot puree was sweet but not oversweet, the beetroot broth was amazingly delicious, the candied walnut was brilliant but slightly burnt, the tortellini was slightly hard but the filling was completely flavoursome. The best thing about this recipe is that everything works together, not just by itself. My family really enjoyed the dish, everyone’s highlight was the broth and the lowlight was either the candied walnut or the tortellini. I can’t wait for my ninth recipe!!!
This recipe was taken from the Masterchef Australia website.
Q: Do you like beetroot? If not, why?
Please place your comments in the comment section below.