Thursday, 11 August 2011

Appetizing Tea Smoked Quail in a Citrus Sauce

Cooking Adventure number #7 – Appetizing Tea Smoked Quail in a Citrus Sauce

For my seventh main ingredient, my cousin selected ‘quail’. I researched and selected three recipes including hunter-style quail; tea smoked quail in a citrus sauce and grilled quail with rose petals. All recipes look appetizing and since I had the whole evening to cook, all recipes could be done. However, I chose tea smoked quail in a citrus sauce because I wanted to try another recipe from my favourite cooking show Masterchef and I knew there were a lot of recipes with quail on their website. After hours of searching for perfect quail recipe I came across this one. Since most of my family members love tea and my mum knows how to work with quail I chose this recipe. The ingredients for ‘Tea Smoked Quail in a Citrus Sauce’ are:

Salad Onions (used brown onions)
Butter (preferred unsalted)
Thyme
Sage
Bay Leaf
Water (not shown)
Tunnel Boned Quails
Lemon Zest
Sou Chong Tea Bags (used black tea)
Tarragon
Grapeseed oil (used olive oil)
Prosciutto
Plain Flour
Chicken Consommé
Lemon Juice
Orange Juice
Balsamic Vinegar (used white vinegar)
Swiss Brown Mushroom
It took me one hour and thirty minutes in total to prepare all the ingredients. This included zesting, peeling, chopping, pouring, squeezing, etc. with lots of ingredients for this recipe, I knew that preparation was going to take a long time. I was happy I didn’t go over the two hour mark.


Oven-baked Onions
The onions were put into a baking container (the type you would use if you were to cook lasagne) and I added butter, thyme, sage, bay leaf and water. Once I put everything in, the aroma was so powerful, but it smelt like rosemary one of my favourite herbs to use because of its amazing scent. I then had to put foil on top of the container and then put into the oven at 180 degrees centigrade for thirty five minutes or until soft. 
After thirty five minutes, I checked if the onions were ready yet. The foil wasn’t hot so I lifted it up and boiling steam blew into my face which made my face burn for around fifteen seconds. It hurt so much I almost dropped the onions onto the floor. The onions were brown and soft which I was happy about and the taste was full of flavour which I was ‘over the moon’ about.  I like caramelised onion better but I thought this was nice.

Tea Smoked Quail
I was really nervous about cleaning the quail when I bought it but luckily it was already cleaned for me so I was relieved. Juts to make sure, I cleaned the outside and inside of the 7 small quails. Cleaning the outside was fine for me but cleaning the inside felt strange because I have never done it before but it was a cool experience to do it. 
This is me making the stuffing for the quail. The stuffing contains unsalted butter and lemon zest. I followed the recipe’s portions for the stuffing but it seemed the stuffing was too little so I added the same amount of butter into the mixture and half the amount of lemon zest as well. I had a taste of the stuffing and it tasted pretty nice but I couldn’t imagine how it would taste with the quail as well.
Stuffing the quail was the tricky part in this recipe. I felt very uncomfortable in putting the stuffing into the massive hole but my mum showed me how and I’ve become more confident in stuffing quails. My first quail had too little stuffing and my second quail had too much stuffing. My last quail, I got the perfect amount! Practice makes perfect!
Once I finished stuffing each quail, I placed the quails onto a baking tray with foil and sprinkled them with black tea as preferred by my mum. The aroma of lemon/butter stuffing and black tea was brilliant and made me my nostrils tingle. So good and I couldn’t wait for the end product!
After putting black tea around the tray, I sprinkled sage, tarragon and thyme around the tray. The aroma turned from brilliant to magnificent! The aroma was like an opera for my nostrils and I had more tingles! I placed another layer of foil on top and placed it into the oven for twenty minutes or until cooked. My biggest worry about this dish is the quail. As mention on Masterchef, quail is best eaten medium rare – cooked or undercooked but if it’s overcooked; it is so dry and inedible which would be a shame.
Once the twenty minutes were over, I left the quail in the foil for five minutes; after five minutes, I lifted the foil and the quail was white which wasn’t a worry because it was meant to be like that. I couldn’t wait til I could eat it at the dinner table. The smell from the quail was absolutely scrumptious which made my nostrils tingle again.
Since my parents don’t like seeing quail white, I decided to fry the quails so the skin was golden brown. The smell took my breath away… literally. I didn’t want my parents to see the quail or else they would make me cook it in the oven for longer because of how white it was.

Citrus Sauce
This is the butter and olive oil being slowly heated up in a frying pan. The smell of butter and oil was divine but adding the other ingredients made my nose tingle again.
Adding the prosciutto made the aroma lovely. This is my first time using prosciutto in a recipe and although it’s a very salty type of meat, it is not meant to be eaten on its own and with the butter/olive oil, it was DELICIOUS!
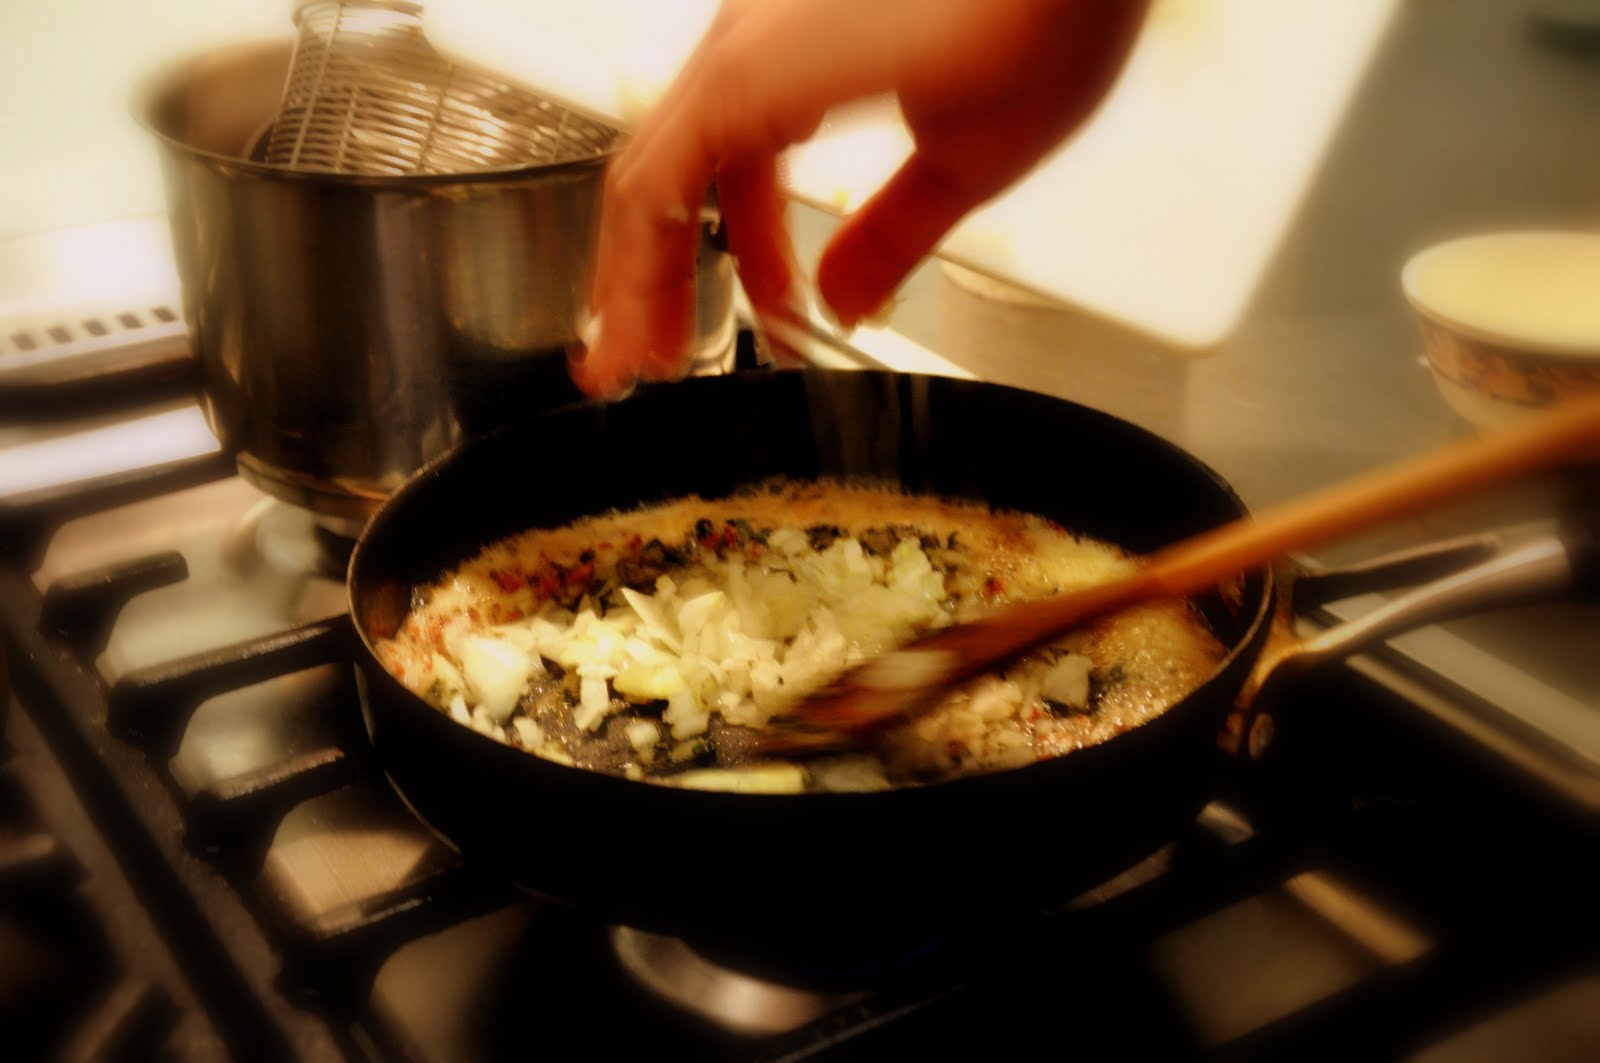
This is me adding the chopped onion into the sauce. The onion smell was like a beautiful piece of art. I wish the kitchen could smell like this always and I knew there was going to be a better smell when I put in some herbs. This photo is one of my favourite photos in this recipe because my hand looks so magical to me.
Next was the chicken consommé which took me forever to prepare. During the preparation period, I used a container which had a tiny hole in it and I poured the boiling water in it. I left the water in the container for around five minutes and when I came back, there was a puddle around the container and almost one quarter of the boiling water was gone. So annoying!!! Once I poured the chicken consommé into the sauce, the sauce looked very appealing. This photo made my heart melt because of the way it was taken. Just gorgeous!!! Once the consommé was in, I had to keep stirring until the sauce thickened which took forever.
After the sauce thickened, I added the lemon and orange juice and tarragon. The lemon and orange juice and tarragon made the sauce very citrusy and it was so strong I decided not to put the vinegar in.
 Once I put the lemon/orange juice and tarragon into the sauce, I had to wait for fifteen minutes for the sauce to reduce. The sauce created a lovely scent around the kitchen again; the smell of onion, tarragon and prosciutto was captivating but the orange/lemon juice didn’t seem to fit in with the savoury ingredients. Hopefully, everything fits together when it’s time to serve with the quail and sides.

After fifteen minutes, I strained the sauce so I could get the liquid only. I really adore this photo because the main focus is the sauce being strained and I believe it is eye-catching and bold. Once I separated the liquid and the leftovers, I left the liquid to stay warm at a low heat while the leftovers went into the bin. I tasted the liquid and it was a combination of sweet, savoury and citrusy flavour which was magnificent!

Fried Buttered Mushrooms
The recipe stated a certain type of mushroom which would taste the best for this recipe. I had to decide between Swiss Brown Mushroom, the recipe’s mushroom or ‘normal’ mushroom which was a cheaper version. Swiss Brown had a much stronger flavour than the ‘normal’ mushroom so I chose to buy the Swiss Brown. The mushrooms were sautéed in unsalted butter which I preferred to have a buttery taste rather than an oily taste. The aroma in the kitchen changed very quickly from a citrus scent to a lovely butter scent.
After being sautéed for five minutes, the mushrooms were golden brown and looked succulent from first sight. I couldn’t wait to eat this and see if it tasted delicious!!! I used the leftover butter sauce from the frying pan as an extra sauce to pour over the quail which was a tip in Masterchef when cooking this recipe.
After an hour and a half of cooking this recipe, I was extremely pleased about the final product. It looked so lovely with the yellow tea towel and some cutlery. While I was cooking the recipe, my cousin roasted some potatoes which looked radiant as a side. Although was relieved, it was also time to find out whether the quail was cooked to medium/rare. I was the first person to cut the quail and it was cooked to medium/rare which I was relieved about. The quail was absolutely perfect in terms of flavour but with the citrus sauce, it worked beautifully together. The mushrooms were full on buttery flavour which I expected and the oven-baked onions were yummy, they did need more thyme and sage because the butter overwhelmed the herbs’ flavour. Overall it was a wonderful dish. My family’s responses were positive with only one negative. My cousin (who took the photos) didn’t like the recipe. He felt the quail lacked with flavour, the sauce was too lemony and the onion was dull. My mum thought it was marvellous but told me next time to cook it so it wasn’t so rare. My dad loved the sauce and mushrooms but felt like the quail was undercooked for him. Like my mum, he loves eating meat that isn’t raw. I couldn’t believe a twelve year old chef could cook this but I managed to make it. EIGHTH RECIPE here I come!!!

This recipe was taken from the Masterchef Australia website.
Q: How do you like your meat to be cooked?
Please place your comments in the comment section below.




Thursday, 4 August 2011

Sweet Caramelised Onion Pizza with Garlic Bread

Cooking Adventure number #6 – Sweet Caramelised Onion Pizza with Garlic Bread

For my sixth main ingredient, my friend selected ‘cheese’. I researched and selected three recipes including cheese puffs, ‘best-ever’ macaroni cheese and caramelised onion pizza. All recipes look flavoursome however, I chose Caramelised Onion Pizza because this recipe was made on my favourite cooking competition, Masterchef , and I wanted to recreate a dish which was loved by the judges and voted one of the best recipes on Masterchef. Also, my mum knew how to make the pizza base and I wanted to learn how to make it. The ingredients for Caramelised Onion Pizza are:

Tomato Paste
Onion
Rosemary
Butter
Kalamata Olives
Feta
Brown Sugar
Plain Flour
Olive Oil
Salt
Yeast
Lukewarm Water (not shown)
White Sugar
It took me one hour in total to prepare all the ingredients. This included measuring, cutting and washing all ingredients for the presentation photo. With so few ingredients, I thought it would be pretty quick to do the preparation but I was wrong. The quantity made the preparation longer but I managed to finish it.


Home-made Pizza Dough
This is me mixing the yeast mixture. The mixture had yeast, lukewarm water (water that is slightly warm) and white sugar. The yeast smelt like vomit and I wondered if anyone has ate it alone. I had to mix the mixture for around two minutes but I lost track of time and kept mixing until my mother asked me if I’d finished mixing. Once finished, I placed the cling wrap onto the container and waited for the mixture to rise. The cling wrap was annoying me because it wouldn’t stick to the sides of the container and it took me so many times to get the right size and stick it as well. Finally my mother stuck the cling wrap onto the container in ONE SHOT!
After five minutes of waiting, the yeast mixture rose up to the lip of the bowl, until I took off the cling wrap and it sunk five centimetres, but it still looked like it rose quite a fair bit. It still smelt like someone had vomited in the yeast mixture but I hoped it didn’t smell like this at the end.
While I was waiting for the yeast mixture to rise, I made the other mixture which contained flour and salt which I had to mix up and then wait for the yeast mixture to finishing rising. Once the yeast mixture was finished, I poured it into the other mixture. Although the top of the yeast mixture was frothy, the bottom mixture was still runny but that’s what it’s supposed to be from the recipe’s description of the yeast mixture.
The recipe told me to use an electric mixer to mix all the yeast mixture and the other mixture together but it didn’t seem to work. Instead of the electric mixer mixing it together, it was not doing anything except making flour fly around the bowl.
This is a photo of the dough mixture mixed by the electric mixer. I wasn’t satisfied with the end result so I instead used the old –fashion mixing technique, kneading.
This is me kneading the unfinished dough. It was a lot harder to do because you had to put lots of power and force to make the dough nice and smooth. I believe it looked better than the electric mixer version.
Although kneading the dough took more time, the dough actually turned from being a lumpy and ‘crater’ filled dough into a lovely smooth dough which I imagined from the beginning of this recipe. It still had that awful smell of yeast in the dough but I still hoped the smell would be gone. I had flour all over my arms, hands and some small patches on my face!
After kneading the dough, I had to put it into bowls, put cling wrap over it and let it rest at the heater for one hour. Putting the cling wrap on wasn’t hard for some reason and it managed to stick to the bowl. While the dough was resting, I began caramelising the onion for the pizza.
This is me frying the onions before putting the brown sugar and rosemary into the frying pan. I was supposed to use olive oil for my frying but since I had lots of butter left over, I used butter instead. The recipe originally said to put thyme in but rosemary had a nicer scent and taste so I replaced thyme with rosemary.
Once I’d put in the brown sugar and rosemary, it smelled so beautiful and sweet; I could just eat these onions for breakfast, lunch and dinner. I had to keep stirring the onions around or else the sugar on the onions would burn and ruin the whole dish. The kitchen smelt like an Italian restaurant which was fantastic!
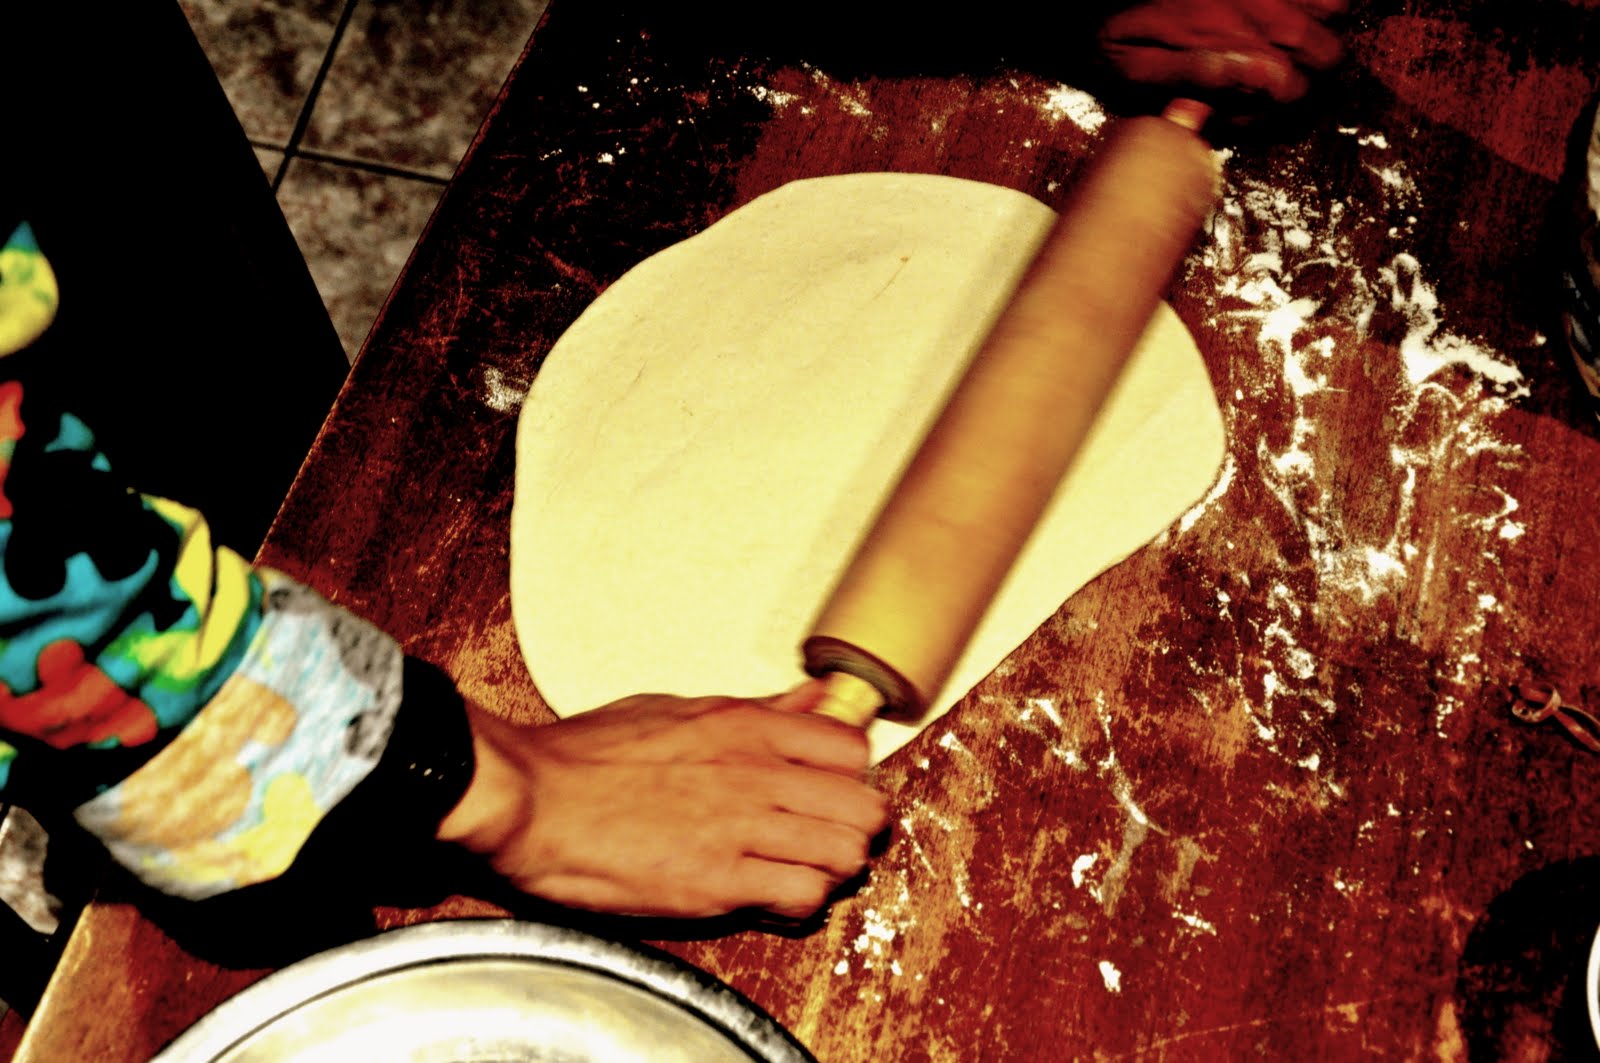
After one hour, I left the onions and rolled out the dough. It was puffy and it didn’t have the yeast odour anymore which I was extremely happy about. My first attempt at rolling out the dough was terrible, although the dough was flat, it turned into an abnormal shape. My second attempt turned out alright, it was still flat but this time it was an oval shaped base. My third attempt was perfect, flat and circular!
After rolling the dough, it was TOPPING TIME! The order of topping from base to top was:

1. Tomato Paste
2. Caramelised Onion
3. Kalamata Olives
4. Feta
Tomato Paste wasn’t on the recipe but pizza without paste is so plain so I bought tomato paste while I was shopping. At first, spreading the tomato paste was tricky; trying to get an even layer of paste around the base, but I managed to do it.
Next topping was the caramelised onion. I wanted to just eat the onion but thought maybe the onion would taste even better on the pizza, with other toppings. It was easy to put on the pizza; just drop it anywhere on the base.
Next topping was the kalamata olives. These olives were my favourite but for some reason they were more salty than normal but with the onion it would perhaps even the taste out. Since the olives were really big when I bought them, I had to cut them in half so they looked like the olives on pizzas from the shops.
The last topping was feta, my main ingredient. The feta was very hard when I bought it but since I left it out for around one hour, it softened and it was easier to break smaller pieces so I could spread the feta around the pizza. After finishing the topping part, I placed the pizzas into the oven for 30 minutes at 200 degrees centigrade.
Once the 30 minutes finished, the pizzas were golden and tasty. The feta had been cooked with a rustic edge to each piece, the olives had shrunk in size and the onions had been browned even more. I just couldn’t wait to dig my teeth into one slice. For the presentation photo, I had to cut the best pizza slice and I was terrible at cutting slices but it wasn’t hard at all after my mother showed me how to cut it: halves, quarters, eighths then sixteenths. I’d learnt so many things in just 2 hours.

When there’s pizza there has to be garlic bread. As a tradition, when my mum makes pizza she usually buys garlic bread as a side. Usually I would make it but since I didn’t have enough time, I just bought the cheapest garlic bread. They were cooked with the pizzas for 12 minutes and they came out just perfect: the garlic butter had melted and the bread was golden brown and crispy. Hopefully it tasted like home-made garlic bread. Cutting the bread was easier than cutting pizza slices but I had to cut two perfect slices of garlic bread for the presentation photo. Luckily, there were 12 great slices but only 2 were the best looking ones.
The finished product looked so professional and beautiful; it made me feel like a true Italian chef. I was the first person to take a bite of the pizza, it was scrumptious and the onion just melted in my mouth. With the salty taste of olives and feta, plus the sweet caramelised onion, the flavours were balanced out. The garlic bread was a stunner - it was crispy and the garlic butter melted in my mouth like the onions did. I wished it was home-cooked but it was delicious anyway. My mother didn’t like how the onion was caramelised and said it ruined the recipe but she doesn’t like sweet food so it wasn’t an insult. My dad really liked the pizza and garlic bread saying it was magnificent. My cousin and sister both liked the onion and garlic bread as well. The whole evening was tremendous; I have learnt so many things like how to make pizza bases and how to cut the pizza slices which will hopefully stay in my mind forever. I can’t wait for the seventh recipe!!!

This recipe was taken from the Herald Sun’s Masterchef liftout.
Q: What types of pizza(s) do you like and why?
Please place your comments in the comment section below.


Friday, 15 July 2011

Restaurant - Style Shepherd’s Pie with Wild Mushroom

Cooking Adventure number #5 – Restaurant - Style Shepherd’s Pie with Wild Mushroom

For my fifth main ingredient, my cousin selected ‘lamb’. I researched and selected three recipes including lamb chops with Ratatouille, Lamb Scotch Broth and Shepherd’s Pie with Wild Mushrooms. All recipes look very tasty and can be cooked in less than two hours however; I chose Shepherd’s Pie with Wild Mushroom because this recipe is one of my favourite winter warmers. My sister was scheduled to leave for her around the world trip; therefore this recipe was a tribute to her. The ingredients for the ‘Shepherd’s Pie with Wild Mushroom’ are:

Olive Oil
Onion
Carrot
Celery Stalks
Wild Mushrooms
Minced Lamb
Plain Flour
Beef Stock
Canned Tomatoes
Tomato Paste
Thyme
Bay Leaves
Salt
Pepper
Red Wine
Washed Potatoes
Unsalted Butter
Egg Yolk
Parmesan
Breadcrumbs
It took me in total 25 minutes to prepare all the ingredients. This included measuring, cutting and washing all ingredients into bowls for the presentation photo. It was a surprise how quickly it took me to prepare when there were a fair amount of ingredients in this recipe.
This is me frying the onion, carrot, celery and mushroom with olive oil. I decide to used a saucepan because it was going to be the ‘everything’ pot so I don’t have to transfer from a frying pan to another pot. The order of the frying was: 1. Onion, 2. Carrot, 3. Celery and 4. Mushroom. The onions were browning first which meant the frying was almost completely. While I was sautéing, my sister put pepper in for more flavour and it smelt fabulous.
Once the vegetables had finished frying, it was time for the lamb to be fried. At first, the lamb looked like a human brain. Once it was in the saucepan, I smashed into bits which looked like tiny broken brains. It wasn’t the most pleasant sight. The lamb was quickly browning and within 5 minutes, it had finished. After completely the lamb, I added flour in to make the lamb and its sauce thicker. My sister added breadcrumbs in the lamb mixture so it soaked all of the remaining fat which was not part of the recipe.
Once the lamb had finished frying, I added in the vegetables and sautéed the lamb and vegetable for a little bit before the beef stock was put in. The aroma of beef and vegetable was just gorgeous but I couldn’t wait for the beef stock to come around.
The magic potion is here! Well actually it’s just beef stock but it made the vegetables and lamb smelt so amazing. This photo was taken by my cousin. After 20 shots of me pouring the stock in, this was the best one which was the 15th shot.
Once the beef stock was ready and the vegetable and lamb had been sautéed and been soaked in the stock. I reduced to low heat and waited for approximately 15 minutes for the lamb and vegetable to soak the stock in.
Since the beef stock/vegetables/lamb was simmering for 15 minutes, I started on the mash potatoes. The recipe told me to use a certain type of potato to use for mash but since my sister couldn’t find the type of potato the recipe wanted, she just bought washed potatoes. At the beginning of the cooking session, I boiled the potatoes so they can soften for the mash. Luckily when the beef stock was simmering, the potatoes were finished boiling so I could start mashing immediately. The mash was very easy because the softness of the potatoes. The mash was tasteless but once my sister put in milk, butter and breadcrumbs; it was splendid!
After 15 minutes, the stock had been soaked up by the vegetables and lamb; it was placed in 6 ramekins my sister used one for each shepherd’s pie. Once they were filled to a certain point, my sister piped the mash potato on top of the meat filling. My sister loved piping things as decoration and since it was the last time she will be cooking with me, I let her pipe. My cousin’s photography skills really showed in this photo.  My cousin’s sister was putting pastry on 3 ramekins and my sister put potato on 3 ramekins. Once everyone had finished what they were doing, I put all 6 ramekins in the oven for 30 minutes.
The finished product looked like a professional dish because of the puff brown pastry and the rustic potato on the pie. Although when my sister was taking the pies out from the oven, the potato pies hit the top of the oven and made it sink a little bit. Luckily, there was one good potato pie which didn’t hit the top. It was my idea to put the knife and fork in to look more professional. I was dying to eat my shepherd’s pie but dinner hadn’t started yet so I had to wait.
This photo is my sister’s special shepherd pie which had her initials because this recipe was the last time was cooking with me. She was leaving to her “Around The World” trip with her fiancée for seven months.  My whole family thought this was the best recipe so far because it tasted so exquisite; they could eat it for breakfast, lunch and dinner. One cousin is a fussy eater; however she managed to finish the whole ramekin which was an extremely good compliment. I thought it tasted pretty good better than previous shepherd’s pie which tasted really bad. The pastry was soft and warm and the meat filling was perfect. I will call this my best recipe so far and I can’t wait for my sixth recipe!!!

This recipe was taken from GW Living Magazine (Good Weekend)
Q: When was the last time you had a tasty shepherd’s pie (pastry or potato)?
Please comment your answers below


Melting Soft-Centred Chocolate Pudding

Cooking Adventure number #4 – Melting Soft-Centred Chocolate Pudding

For my fourth main ingredient, my friend selected ‘milk chocolate’. I researched and selected four recipes including chocolate and hazelnut roulade, chocolate mousse cake, chocolate mousse and soft-centred chocolate pudding. All the recipes look mouth-watering and they were not time-consuming. I chose soft-centred chocolate pudding because it is similar to the one that appeared in Masterchef recently. The ingredients for the ‘melting soft-centred chocolate pudding’ are:

Milk Chocolate
Plain Flour
Caster Sugar
Butter
Eggs
Raspberries
Vanilla Ice-cream
It took me in total 20 minutes to prepare all the ingredients. This included measuring, cutting and washing all ingredients into bowls for the presentation photo. I was pleasantly amazed how quick it took me to prepare all the ingredients. My duration for preparation has improved dramatically since the first time I started.

This is a picture of me melting the milk chocolate and the butter. It took for the butter and chocolate to mix because I used cold water instead of boiling water. The smell of melting chocolate and butter was divine.
Once the chocolate and butter melted, I left it aside to cool down. This picture is me mixing the eggs, flour and sugar into a bowl. It was powdery at first but when I put some elbow grease into my mixing; it became a smooth thick mixture that I was aiming for.
This picture is me with the melted and cooled down chocolate. It smelt amazing and the taste of rich chocolate with a pinch of butter in it. It had a smooth consistence and it was perfect.
This picture is me mixing the melted chocolate into the egg mixture. The reason why the melted chocolate had to be cooled down because if I poured the ‘ready off the stove’ chocolate, it would cook the egg which I did not want. The melted chocolate was blending in the mixture nicely. It was flawless and the smell was amazing.
After mixing the mixture, I placed it into ramekins. It was time consuming & difficult as the mixture was very sticky! After 15 minutes, the first ramekin was filled to the top and it was frustrating putting the mixture into 6 other ramekins (3 large and 3 small).
I love raspberries but I would love them more if they weren’t frozen from a packet. The raspberries were so sour and I could taste frost on them which was not tasty. This photo was my favourite one from his collection of raspberries photos.

This is one of the puddings that were chosen for presentation. My cousin’s photography skills showed every crack and every detail of the pudding. These puddings took 25 minutes but my sister and I decided to cook them for 30 minutes.  It was a little bit burnt but still scrumptious!
I decided to not to do a presentation photo because this stunned me. This photo is me putting raspberries and icing sugar on the two puddings; one in a ramekin and one outside the ramekin. I was really nervous whether if the centre of the pudding was going to pour out when I cut the pudding in half. 
Thankfully it was gooey in the centre and it was nice and warm, perfect for the winter night. I only made four puddings. My parents enjoyed eating the ice-cream more than the pudding because they don’t like eating desserts. I really liked the gooey centre and the raspberries because it was a combination between the sour raspberries and the sweet chocolate-centre. My sister didn’t enjoy it because she felt as though she was eating unfinished cake. She loved the raspberries with the pudding because of its sweet and sour combination. It was quick dish but it was appetizing in the end.


This recipe was taken from Bill Granger’s “Bills Open Kitchen’
Q: Do you like chocolate pudding and if no, why?
Please place your answers in the comment section below